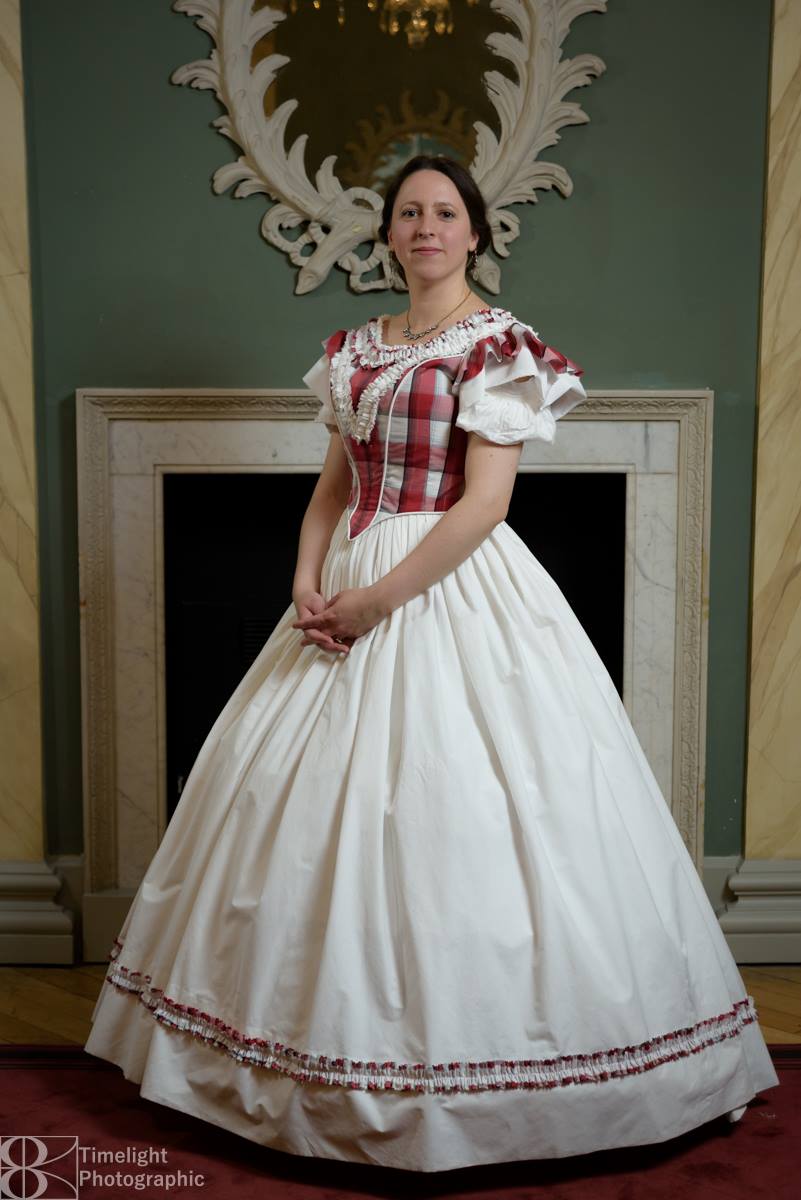
Almost all the Widow Twanky wigs required quite a tall, rather severe hairdo underneath each headdress or hat design, and to create that kind of volume I needed a supportive structure. As previewed in my last post, I created this out of millinery wire, using a fine gauge wire to wrap the joins (much faster than wrapping with thread, which is what I used to do!). I covered each one in a layer of net, and then sewed them to the fosshape base with a heavy duty thread and a straw millinery needle.

Here you can see several wigs in different stages of hair addition. I started by padding out the sides and most of the the head with extensions teased into hair rats.

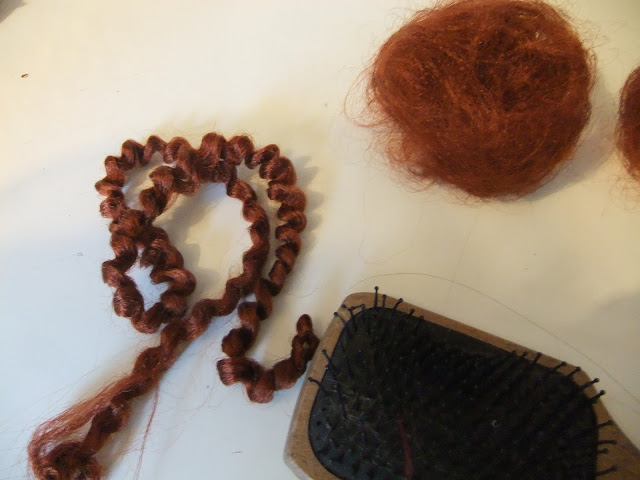
When the hair came off the wire, it was tightly curled. I brushed out each one, and fashioned it into a hair rat, as shown above.

Then I tacked each one on in a matching thread with big stitches.
The hair extensions I used came loose in the packet, so to create strips of hair that I could sew down in layers, I first cut strips of net, then attached hair evenly along each strip with a zigzag stitch.


Here you can see several wigs in different stages of hair addition. I started by padding out the sides and most of the the head with extensions teased into hair rats.

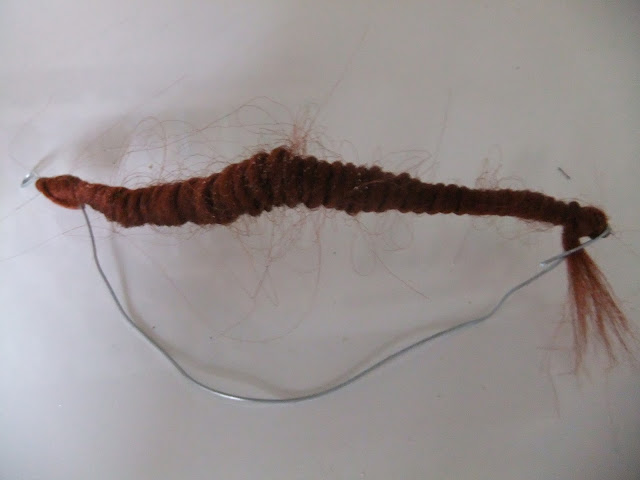
To make a hair rat, I first took a section of hair, and wrapped it tightly around a piece of wire. I looped the wire back on itself as shown in the photo to stop it unraveling. This I sprayed liberally with hairspray, and then blow dried until completely dry.


When the hair came off the wire, it was tightly curled. I brushed out each one, and fashioned it into a hair rat, as shown above.

Then I tacked each one on in a matching thread with big stitches.
 |
| Almost ready for the smooth top layers. This got tacked down a bit more first! |
 |
| This is how my studio looked for most of this job. |

Each layer of hair was attached with the net facing towards the inside of the hairstyle. I kept the hair in plaits whilst sewing it on, to avoid knotting.

Then the hair was smoothed over the top of the head and secured with layer upon layer of small stitches in a matching thread. I used a curved needle and kept the stitches fairly loose, to avoid pulling at the hair too much.

The kiss curls were made by pinning short extensions into position then applying lots of pva glue to secure the shape. Once it was dry I could cut off the excess 'tail'. I don't recommend pinning to polystyrene, as I ended up having to pick off bits of styrofoam that had gotten stuck to the glue.
Finally, once all the hair was on, and sufficiently secured in place, I went over each wig with multiple fine layers of clear spray varnish. My favourite is Rustoleum Crystal Clear, as it doesn't leave a dusty residue, unlike another brand I could name... (Valspar)
Stay tuned for the final looks, as well as how to build a wig that'll withstand a slosh scene!