Tuesday, 26 January 2016

Victorian Ball 2015 - 'Waterfall' Drapery

I think my favourite feature of the costumes for last year's Ball was Becky's skirt, which featured waterfall drapery down the back, and a gold lace overlay at the front.  I was inspired by this image for the back drapery, and managed to find some lovely (and very affordable) silk that was blue one side and silver on the other.

To figure out the pattern for the drapery I first did a small mock up in paper.


And here's a sneak peak of the toile version in calico.  Next post will be photos from the Ball itself!


Sunday, 24 January 2016

Victorian Ball 2015 - 1880s corset/bustle/ruffled petticoat

Once I was done with my own underpinnings for the ball, it was time to tackle Becky's 1880s ensemble.  The first thing on my list was a bustle, which I'd been itching to try for years.


I used red cotton drill from my stash (it had to be red for a lobster tail bustle!), and used a combination of instructions from Jean Hunnisett and American Duchess.  You can see the latter's instructions on her blog here.

I also made her a coutil corset using Norah Waugh, and a ruffled petticoat to go over the bustle.  Once again Jean Hunisett's 'Period Costumes for Stage & Screen (1800-1909)' was very useful, but I also found Izabela Pitcher's instructions (here) very concise and helpful.  Izabela, you may remember, is the one who set up the ball in the first place, so it seems fitting to use her guidance in putting our costumes together.  Unfortunately the only photo I have of the petticoat is the somewhat blurry one below.


Tuesday, 10 November 2015

Tailored Waistcoat

I mentioned the making of this earlier in the year, but never got round to posting photos, so here they are.


I made this waistcoat for my boyfriend's birthday in April.  It was quite fun to do, and was definitely an exercise in the importance of taking notes.  I made my first waistcoat in my second year at university, and so had to take copious notes and progress photos as part of the unit - thank goodness for that!  Five years down the line and I would have had no idea where to begin if I hadn't had my notes to guide me, especially for those tricksy welt pockets!


Drafting the pattern was a little disconcerting, as Lars is so long-bodied, and my previous waistcoat had been made for a child, so the completed pattern didn't have much in common with the only other one I had to hand for comparison.

Luckily once made up, it fitted him fine, and he was very happy with it.  I've barely scratched the surface of tailoring, and as I've become more focused on historical womanswear it has fallen by the wayside somewhat.  Hopefully this will be the first of many more tailoring projects to come; once I've gotten a few more 18th and 19th century dresses out of my system.

Monday, 2 November 2015

Victorian Ball 2015 - Crinoline/Petticoat

The next layer in my 1850s ensemble was the crinoline, which is possibly my favourite part.  I really enjoy making structural pieces, and I was very pleased with the bell shape I was able to achieve here.  I'm indebted to the tutorial by 'the Laced Angel' on how to draft a round hoop skirt.  The method involves drawing out the shape you want, and then scaling up to get the measurements for the hoops.  You can see my workings out below.


I decided to give it a very modest circumference (241cm for the bottom hoop), as I am quite petite and didn't want it to overwhelm me.  The Ball would also be my first outing in a crinoline so I wanted to play it safe a little bit.  For the next one I'll be more adventurous!

Construction was very simple.  I used narrow gauge steel boning from Vena Cava for the hoops.  I'd bought a 10m roll of plain white cotton at the start of the project from Empee Silks (a massive fabric warehouse in North London) and used it for most of the undergarments, including my chemise, my petticoat, and Becky's petticoat.  To add a splash of colour, I dyed some of it yellow for the crinoline.


The cotton was just a rectangle of fabric wide enough to take the longest hoop.  I hemmed it and made a channel at the top.  The boning channels were made in cotton tape, applied to the underside of the fabric before sewing up the back seam.  Each hoop was pre-cut to size, slotted through, and secured with a brass joint.  The top is gathered to the waist with another length of cotton tape slotted through the channel.  Finally I gathered a long length of cotton on a piece of cord, and handstitched it to the lowest hoop to create the frill.


I am really pleased with the gentle bell shape I achieved, and with how easily it all came together.


And here it is with my petticoat over the top.  The petticoat was very simple.  Two widths of cotton sewn together with fell seams, and gathered to a waistband with a hook and bar closure.  It was all machine sewn and came together very quickly.

Tuesday, 27 October 2015

Victorian Ball 2015 - Corset/Chemise

I have a major obsession with researching historical clothing, yet I so very rarely get to make any as most of my paid work tends to be parade and event work, or fairly small scale theatre with no budget for the kind of things I want to make.  Trying to eke out the time to make stuff for myself is a tricky one, and I've got a LOT of unfinished projects lying around.  In order to get something completed then, I needed a deadline... a Victorian Ball on the horizon with nothing to wear is a good starting point!

I'd previously stumbled across photos from the 'Spectacular Spectacular' Ball hosted by Izabella Pritcher of Prior Attire in 2012, and kicked myself for not knowing about it before.  Luckily for me, she decided to organise another one, this time a Victorian Ball at the Assembly Rooms in Bath, in May 2015.  I snapped up two tickets, and my sister didn't need much persuasion to agree to come with me!

As I would be making two ensembles; one for myself and one for Becky, it made sense to try tackling two different dress styles within the Victorian period.  As far as underpinnings go, I knew I wanted to make a round hoop crinoline, and a lobster tail bustle.  I had instructions for both from online sources (here, here), and was raring to give them a go.

I picked an 1850s style for myself, so began by making a one layer white cotton coutil corset based on Norah Waugh's 1860s (close enough) pattern from Corsets & Crinolines.  I am very thin, and a problem I'd noted with a previous corset was that if it is made to my measurements, and then laced to shrink my waist, my ribs just end up squashed.  Usually there's fat there that gets displaced, hence the boob lift, but in my case, nope.  This time round I tried to make sure there was extra room around my ribcage, so that I can shrink my waist in without hurting my sides in the process.

Blurry photos - a final check before adding the binding.
It was much more comfortable, although a little more pattern tweaking couldn't hurt for the next one down the line.  After half a day's wear my ribs were fine but I found that the shortness of the corset made it dig into my hips a bit.  This is likely due to needing to allow more space for the hips in the pattern, but it could also be a boning issue.  I recently got round to buying some of the german plastic whalebone that everyone's been raving about so I'll be trying it out in future makes, rather than the spiral steel boning that I used here.


I also made a simple cotton chemise using a free pattern from www.thesewingacademy.com, although I can't find the right link for it right now.


More Victorian Ball posts to come!

Saturday, 24 October 2015

Cinderella wigs

October and November can be very busy months for me, and that's partly due one of my favourite jobs, which is creating wigs for the Dame(s) at the Mercury Theatre in Colchester.  This is my third year running, and it's a great job that's something a bit different from my usual costume work.

I'm currently working on six wigs for Widow Twankey for Aladdin, but today I'll be talking about the Ugly Stepsisters from last year's Cinderella.  As it was two Dames, there were eight wigs in total; four each.

Cinderella's Ugly Stepsisters - Wigs for the Ball
Because of the number of wig changes in the show, each one need to be made as one solid piece that just slots onto the head, with no need for styling, then comes off just as easily.  In previous years they'd used a buckram cap underneath, but were dissatisfied by the buckram distorting from the actor's sweat under the hot lights.  When I was asked to step in,  I discovered a method involving fosshape; a fabric that looks a bit like felt, but when steamed or heated will shrink and stiffen to a fixed shape.

I start by sewing together a cap out of fosshape, then steaming it over a wig block, and trimming the sides to the actor's hairline.  I can then take synthetic hair or cut up ready-made wigs, and sew them directly onto the fosshape cap, building up the style according to the design given.

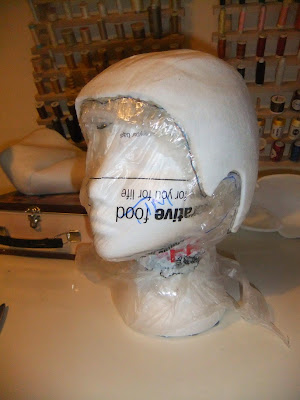
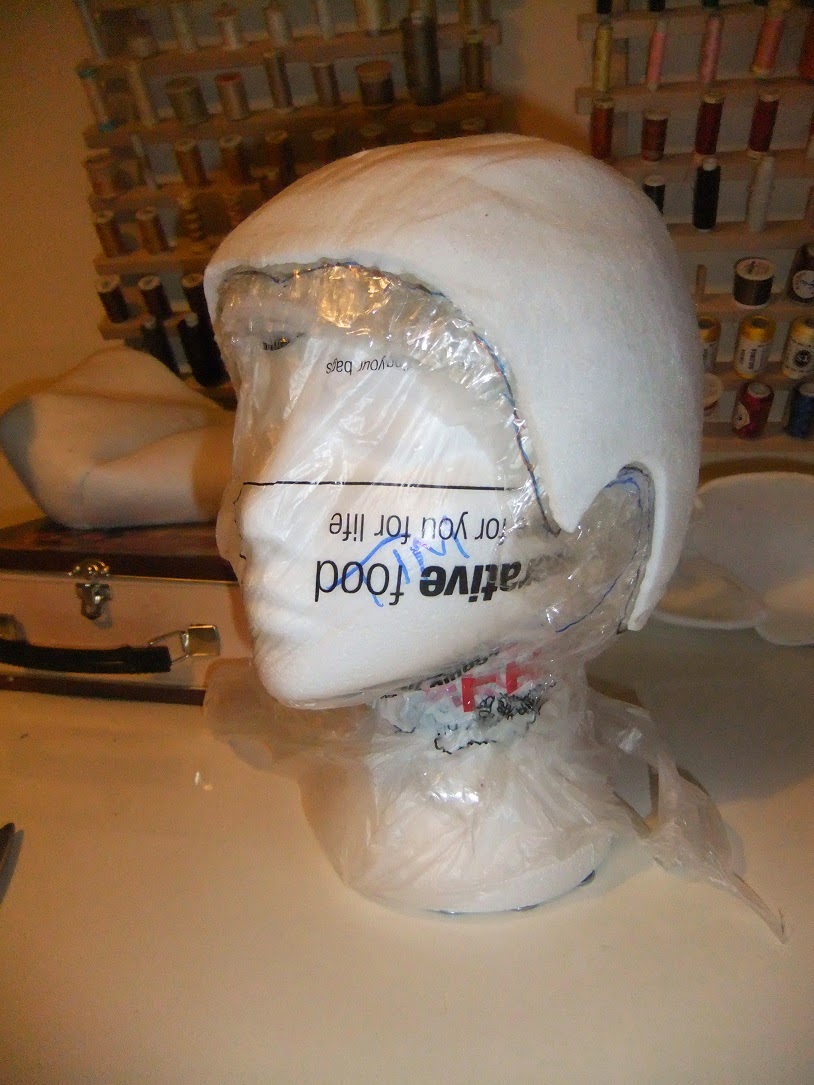
The trick is to have a wig block that is the right size for the actor that'll be wearing it.  In the first year, by some fluke, the block I had was perfect for the actor's head.  For Cinderella, however, both actors had significantly larger heads so that the test cap I'd made barely went over their ears.  To get round this, I decided to customise two styrofoam heads to the actors' measurements, following the instructions on this video.

Head bulked out to right size with sellotape, and hairline drawn on with Sharpie.
Fosshape cap prior to steaming
Fosshape cap steamed and trimmed to hairline.
Tip:  I marked the hairline on the block twice.  I drew it out in Sharpie once, covered that in sellotape, then drew again.  When steamed, the fosshape picks up the outer pen mark, and so can be trimmed accordingly, but the original marking stays put for the next one.

I paint the fosshape with acrylics before adding the hair.  The hair is a mixture of extensions and ready-made wigs that I chop up and sew on in layers, echoing the growth pattern of natural hair.  Lace front wigs are useful for softening the edge where the front of the wig meets the forehead.


Front hairline in temporary plait to keep it out of the way as I fill out the back.

When the hair is securely styled, I coat it in lots of layers of clear spray varnish, to really fix it.  These wigs go through a lot of wear and tear on stage, so it's important that they're up to the challenge!

With the straight dark wigs, you can see that I've added pin curls to the front.  This is because the hairline was still too sharp a contrast at fittings, and needed breaking up.


A half up-do with a bow for their everyday look, a maid cap, a mob cap and rollers for the slosh scene (with a spare mob cap to allow for drying times between shows!), and a feathered updo for the ball.


Curly hair is far more forgiving!

The ball looks have a frame made of millinery wire inside, and the mob caps and rollers are attached to the base with large poppers for switching from show to show.  Unfortunately I'm dependent on the photographer to get photos of them in action and I've only got images of the slosh wigs to show you.


Now, back to work on Aladdin!  I'll be sure to take more making-of photos this time around.

Monday, 11 March 2013

Medea - finished set photos!

I actually finished painting the set last thursday, but didn't get a chance to take any photos until today.  The poor patient guy on security at the Guildhall was literally turning the lights out as I was dabbing the final details in on thursday evening, so it wasn't really the opportune moment to stop for a bit of camera action.  Luckily, I had to head down today to drop off the leather buskins I made for the character of Jason (which, typically, I forgot to take a photo of - I'm useless at this!), so that gave me ample time to go down to the amphitheatre to take some photos.

The sides will be curtained off and the green display behind switched off  too.

Closer look at the door.
Close up of shading detail on marble column 

I didn't go into very much detail about the project in my previous post, but for anyone unfamiliar with the original Greek play, here's a rundown.  It's about the title character, Medea, who is married to Jason (of Argonauts fame).  Jason decides to remarry, and Medea (being a little put out by this) naturally reacts by sending his fiance a poisoned robe, killing her own children and escaping in a suitably spectacular fashion in the dragon chariot of the sun god Helios.
I'd originally signed on to help out my friend Mel, who designed the costumes, but, since they needed someone else to design and paint the backdrop, I stepped in.  It's actually the first time I've painted anything in this scale, so it was definitely an educating experience.  The task was to create the outside of Jason's palace, with central doors that characters could enter and exit through.
I relied pretty heavily on wall paintings from Pompeii and Herculaneum for the colour scheme and layout of my painting:

If you look closely, I pretty much ripped off all my detailing from the door in this painting - but shhhh!


Once I'd put a scale drawing together I popped down to B&Q to dither about in the paint section for awhile, then got to work!  It took about 8 full days to get it all completed, and overall I'm really happy with the outcome.  I think I'm most chuffed with how well the 'marbled' texture turned out on the columns either side of the door. The perfectionist in me would have wanted to do something more with the brown panel along the lower edge (shading or texturing of some description) but unfortunately there wasn't enough time, what with other projects all crowding for attention at the same time!  Nevermind, I'm always my worst critic.

The play opens this wednesday (the 13th) and I'll be going to see my handy work in action at Sunday's matinee performance!  For more info on the staging of the play (the first time the Roman Amphitheatre has been used for this purpose since, well, Roman times!) visit Medea in the Amphitheatre.


In other news, David Bowie's new album came out today and it is BRILLIANT.  Buy it. Now.